This dressing has become one of our favorites, and it’s so easy to make! It’s much healthier than any of the store bought dressings available, and can be thrown together in a matter of seconds. If you want to double or triple the recipe, it keeps just fine in the fridge.
Quick and Easy Salad Dressing
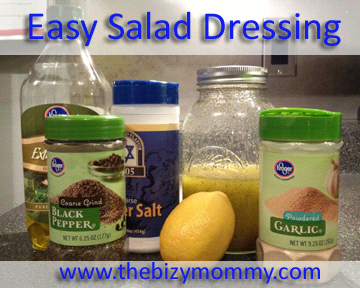
Ingredients:
Juice of one lemon
1/4 c. olive oil
1/2 tsp garlic powder
1/2 tsp kosher salt
1/4 tsp coarse ground black pepper
Whisk all ingredients together and serve immediately over mixed greens.
Variations:
-Add red pepper flakes for a little bit of spice
-Use half lemon and half orange juice
-Add minced red onion
-Mix in 1/2 tsp of Italian seasoning
Do you make your own salad dressing? What’s your favorite recipe?
Make me VIRAL! Share this:

--Barbara
**Remember, y'all, this post may contain affiliate links. I receive a small amount of compensation when you purchase from my links, which I"ll totally blow on waffle fries and sweet tea, y'all!**