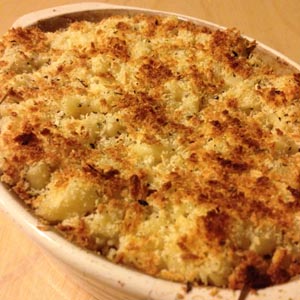
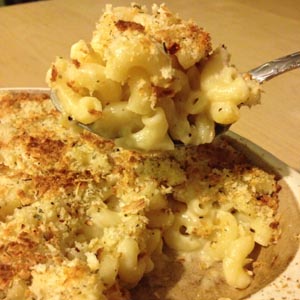
Macaroni and cheese is one of my favorite dishes. Not the fake version that comes in the blue box, but the real deal. My mother made it from scratch when I was a child, and now I do the same for my family. Often times I’ll just make it with American cheese and a little bit of butter and milk, but lately I’ve been playing around with richer, creamier versions. Multiple cheeses, heavy cream, and even a pinch of cayenne can take this simple comfort food to an entirely new level. My newest recipe (which I’m sharing today) has quickly become a favorite in our home. A layer of seasoned breadcrumbs and a few minutes in the broiler gives it a lightly crispy topping that is a perfect compliment to the delicious, creamy sauce. The result is a delicious dish that is similar to one you would get at a restaurant! (For more make-at-home restaurant style dishes, check out this post with 10 of my favorite copycat recipes!)
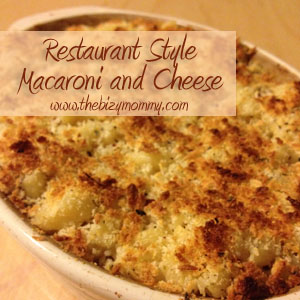
Restaurant Style Macaroni and Cheese
Ingredients:
6 cups water
2 cups elbow noodles
1 Tbs butter, unsalted
3/4 c milk
3/4 c shredded Colby and Monterey Jack cheese
3/4 c shredded Italian style cheese
1/4 tsp garlic powder
1/8 tsp pepper
1/2 tsp salt
Pinch of cayenne
1/2 c Parmesan herb panko bread crumbs (Private Selection from Kroger)
Directions:
1. Bring water to a boil on high heat.
2. Add in noodles and boil for 8-10 minutes.
3. Remove from heat and drain in a colander. Set aside.
4. Set oven to high broil.
5. Melt butter in pot on medium heat.
6. Add in milk, cheese, and spices. Whisk until melted completely.
7. Fold in elbow noodles, stirring gently to coat with sauce.
8. Pour noodles into oven safe dish.
9. Top with panko bread crumbs.
10. Place in oven for 2 minutes until top is browned.
11. Remove from oven and serve immediately.
Printer friendly recipe for Restaurant Style Macaroni and Cheese
Do you have a macaroni and cheese recipe that’s a family favorite? I’d love to hear your version, please take a moment to share in the comments below!
Make me VIRAL! Share this:

--Barbara
**Remember, y'all, this post may contain affiliate links. I receive a small amount of compensation when you purchase from my links, which I"ll totally blow on waffle fries and sweet tea, y'all!**