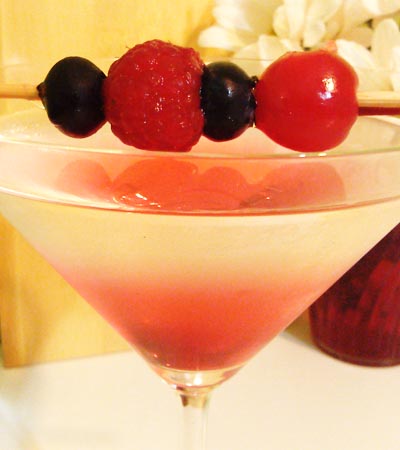
I don’t eat a lot of meat. I like meat, it’s just that my body is not a big fan of it. Maybe I’m missing some important enzyme or something that helps me break it down. That would be my luck. Anyhow, I tend to eat very little meat to keep from having a crazy, messed up gut all the time. Well, except for bacon. Because it’s bacon, duh.
So since I don’t eat a lot of meat, I get my protein from other places. Like chickpeas! Of course, I don’t just eat them plain (boring!), I like to mix them in with different dishes. I threw this particular salad together the other morning to have for lunch, and ended up eating it for 3 days! It makes a lot more than you would think. 🙂
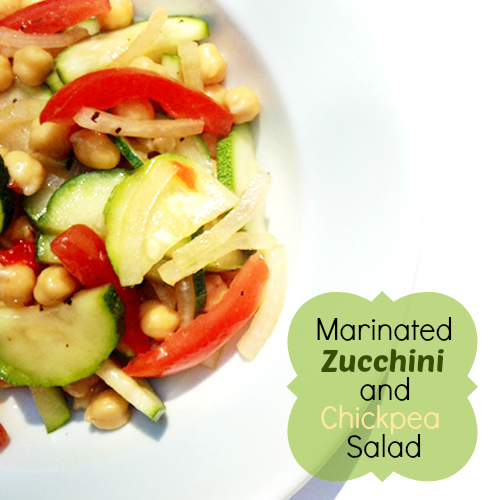
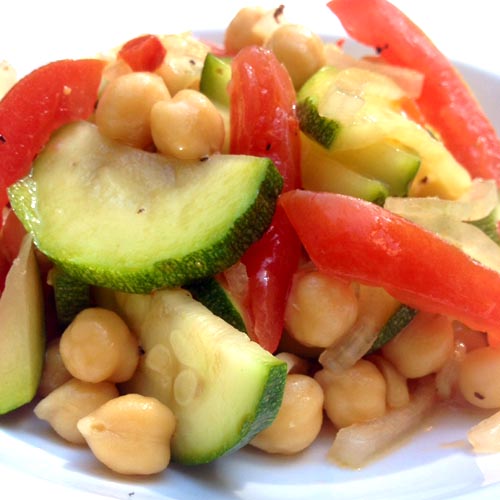
Marinated Zucchini and Chickpea Salad
1 medium zucchini, halved and sliced
1/2 cup thinly sliced onion
2 cups chickpeas (if canned, rinse well first)
2 roma tomatoes, sliced into strips
1/4 cup chopped roasted red pepper
2 Tbs olive oil
2 Tbs lemon juice
1/2 tsp sugar
salt and pepper
Mix all ingredients together and marinate for at least six hours in the refrigerator before serving. Don’t forget, the longer it sits, the more delicious it tastes!
That’s it! Short, sweet and to the point. Unless of course, you want me to ramble on and on about chickpeas. Which I can totally do, by the way. No? Fine. Jeez.
Here’s a video about chick peas instead, just because I find it hilarious.
Look –> Dancing and informative cartoon chick peas!
Make me VIRAL! Share this:

--Barbara
**Remember, y'all, this post may contain affiliate links. I receive a small amount of compensation when you purchase from my links, which I"ll totally blow on waffle fries and sweet tea, y'all!**