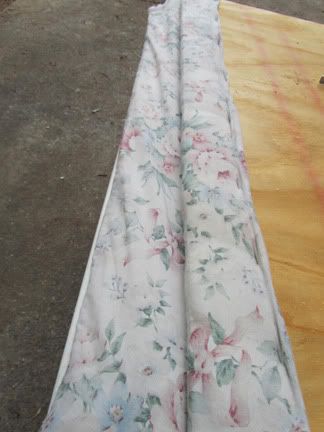
My bed has been sitting on the floor, no frame, no headboard, no nothing, for the last 2 years. About a year ago I started shopping around for headboards and was appalled by the pricing. I was griping to my mother, and she said, “Tiffany, just make your own!” Well duh! I don’t know why I didn’t think of that before! So I rushed out and bought plywood and the material I wanted for the cover. I found 2 old, ugly comforters at a discount cloth outlet that were perfect for the padding. (This particular outlet sells torn and stained fabric from their warehouse by the pound!)
And then I hurried home.
And did nothing with it.
For a year.
Since then, my husband has tried to throw out the wood at least a dozen times, I’ve lost the cover material more than I can count, and my kids have taken over the comforters. Well, on Monday, I decided I had had enough. I gathered all of the materials and got to work!
Materials used:
1 4×8 plywood board ($5)
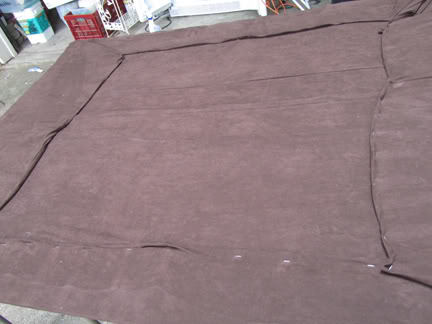
1 used brown suede zippy cover thing ($1)
2 used large, ugly comforters ($4)
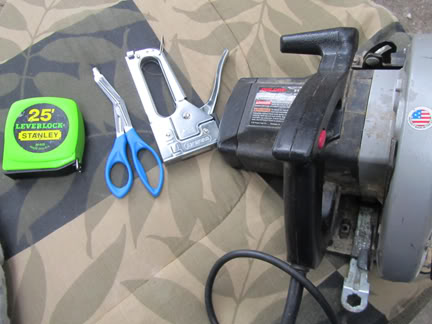
Tools needed:
Circular saw
Staple gun
Measuring tape
Chalk
Scissors (I used bandage scissors, they worked GREAT!)
Directions:
1. Measure and cut the wood down to the size you need.
I cut mine . It didn’t occur to me to take pictures until after I got started, so no visual for this step!
2. Fold first comforter and lay out across board, cut off excess.
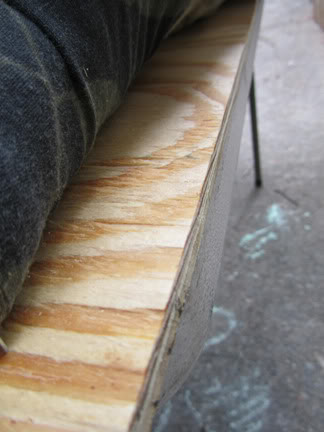
I don’t own sawhorses, so I used two plastic tables instead. It helped A LOT to line the edge of the board up with the table edge. I also spent forever hacking away at the comforter with kitchen shears until my husband suggested the bandage scissors. What a lifesaver! By the way, it doesn’t have to look perfect. 🙂
3. Staple around the edges, pulling the comforter tight as you go. Pretty simple, I stapled about every 4 inches or so.
4. Lay out the second comforter, cut slightly larger than the first.
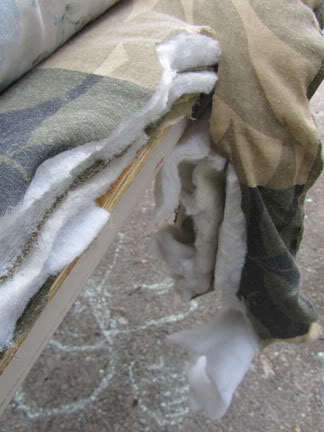
This one will get folded over the back of the board, so cut it a bit longer.
5. Flip over the board, pull the fabric tight, and start stapling!
Make sure the fabric is pulled very tight, so that you don’t end up with a saggy headboard in a few weeks!
6. Last step, attaching the cover!
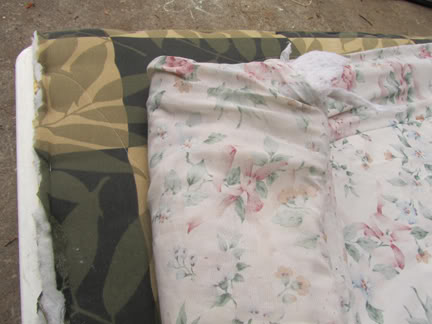
I slide the fabric underneath the board and put in 2 staples on each side as I pulled it tight. I stapled the corners and then went down the sides to finish it off.
I wasn’t too concerned about it being exactly even and neat, since it’s the back and no one will know but me. And you. But you won’t tell, right?
Things NOT to do when making your own headboard:
1. Drop the finished board on your foot while trying to pick it up off the table.
2. Drop the board on the table and knock it over.
3. Fall down on the cement.
4. Crack the debit card in your pocket when you land on the ground.
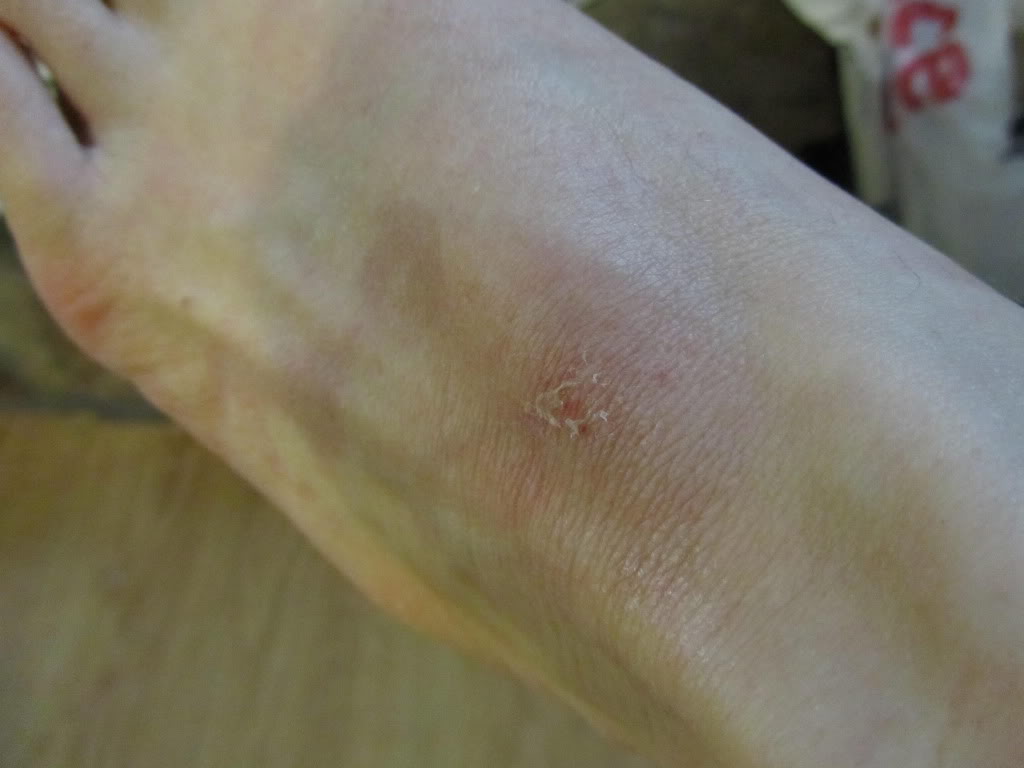
If you *do* choose to go all out, be prepared to end up with this beauty:
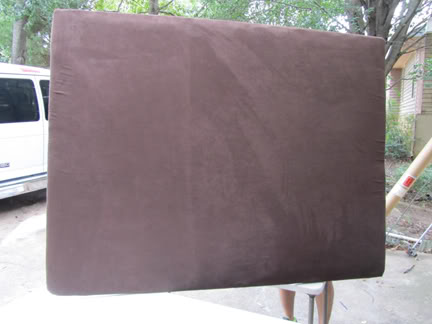
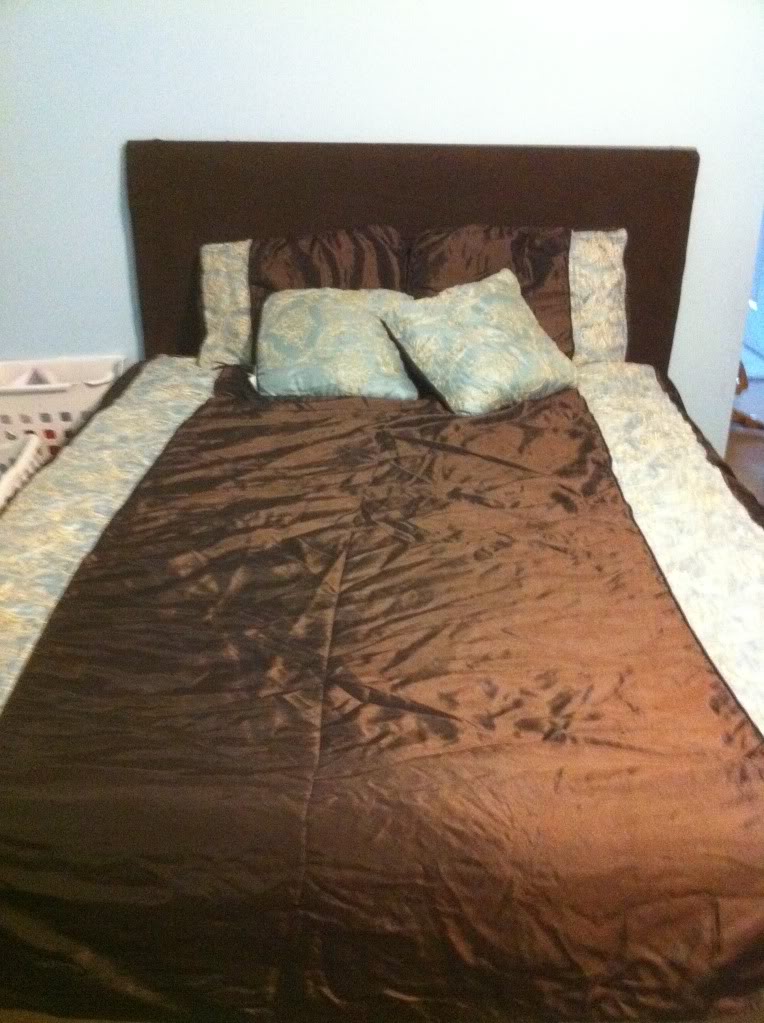
I seriously thought I broke my foot, but within a few hours, I was as good as new! Now, onto the before and after shots!
Doesn’t it look lovely? All for less than $10 and 30 minutes! What’s your favorite fast DIY project?
Keep on saving! :o)--Barbara
**Remember, y'all, this post may contain affiliate links. I receive a small amount of compensation when you purchase from my links, which I"ll totally blow on waffle fries and sweet tea, y'all!**




happy to find this. i was also thinking of using comforters but i wanted to see if anyone else had done this before. is it still holding up, or have the comforters shifted around?
Sorry for the HUGE delay Rebecca! I missed your comment somehow. The headboard is holding up fine, just be sure to pull the fabric tight when you staple it so there is no room for sagging. Also, if you opt to use upholstery tacks that should help too, if you’re really worried about it. Be sure to let me know how it goes!